If this white girl can whip up some tamales on a Saturday night, anyone can. I found this website and based our adventure on these steps, but of course we had to eliminate their Step 2 entirely and create our own fillings. I recreated my own tutorial based on what we did, and so all of you vegans don't have to look at a recipe based on pork and chicken, but I have to say, the other website did a pretty awesome job of walking us through it step by step, with pictures.
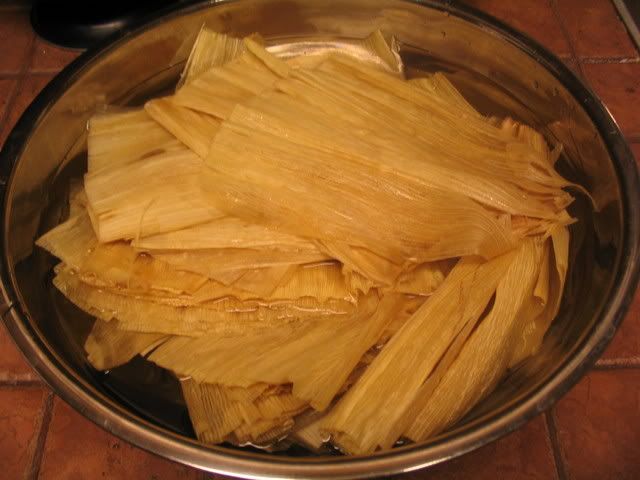
Step 1: Soak your Husks in warm water for at least 2 hours.
Step 2: Prepare the Maseca:
Ingredients:
2 lbs of Masa (I used Maseca Brand Instant Masa Flour)
3 Tablespoons paprika
3 Tablespoons salt
1 Tablespoon cumin seeds
3 Tablespoons Chili Powder
3 Tablespoons garlic powder
2 cups corn oil
2 quarts of vegan broth (I used Chicken Flavor)
Directions:
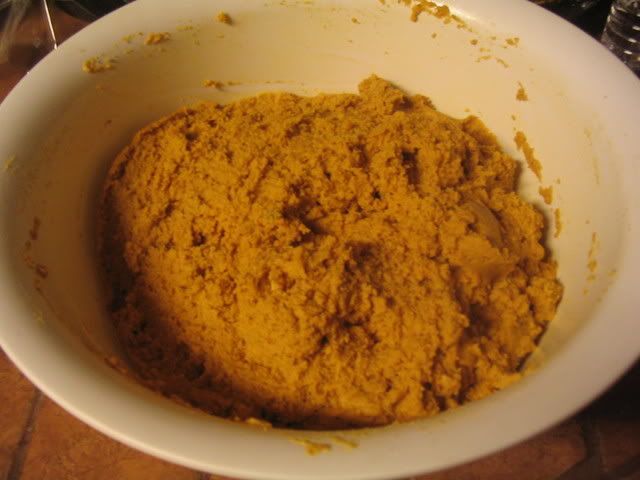
Warm up the veggie broth, don't get it hot, just nice and warm. Now put the 2 lbs. of Masa in a large bowl. Add the dry spices to the Masa. Mix the spices above into the Masa until it is completely incorporated. Mix well, as you don't want a clump of spices in a tamale.
Now add the 2 cups of Corn Oil to the Masa and Spice mixture. After adding the oil, begin to slowly work in the 2 quarts of veggie broth, about a cup at a time. Work the mixture with your hands to make dough. Slowly add the warm broth one cup at a time as you continue to work the mixture with your hands. If it is too dry, add enough warm water to get it right for spreading. It should be about like thick peanut butter. If it is too thin add more Masa, if it is too thick, add more broth or warm water. Thick peanut butter is the consistency you are trying for.
Step 3: Prepare your Fillings:
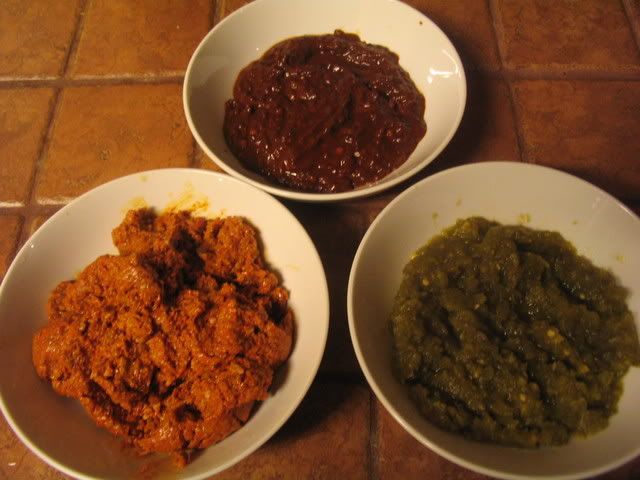
I used 3 different ones, Soyrizo, Chipotles in Adobo (processed in a food procesor) and Jalapenos (The Nacho Style Slices, processed in a food processor.) You can use ANY type of filling you want to. Pretty much ANYTHING! The best tamale I ever had was made with pumpkin puree. Be creative.
Step 4: Drain the Husks:
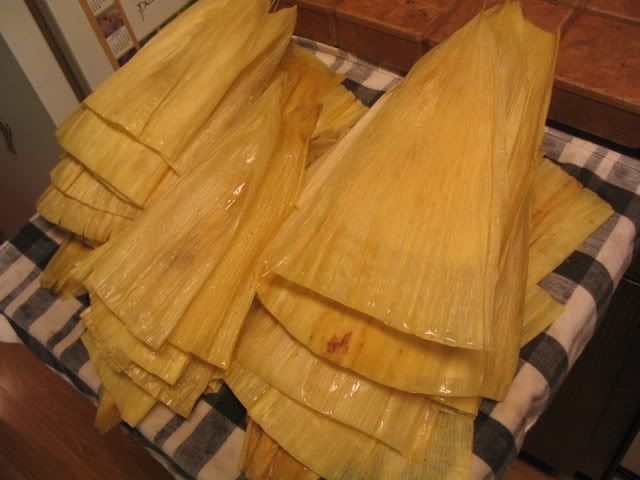
Remove the husks from the water and carefully seperate them. Stack them on a kitchen towel where they will be east to access.
Step 5: Spread on the Masa:
Spread from the center all the way to ONE edge of the husk. Leave enough space to roll up and fold over the pointy end.
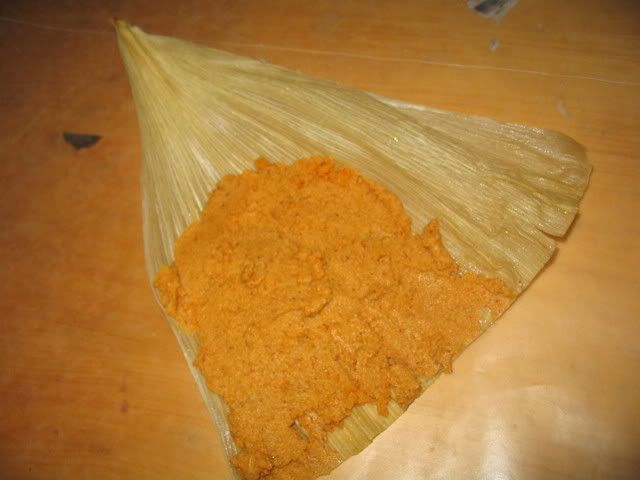
Step 6: Add in your fillings:
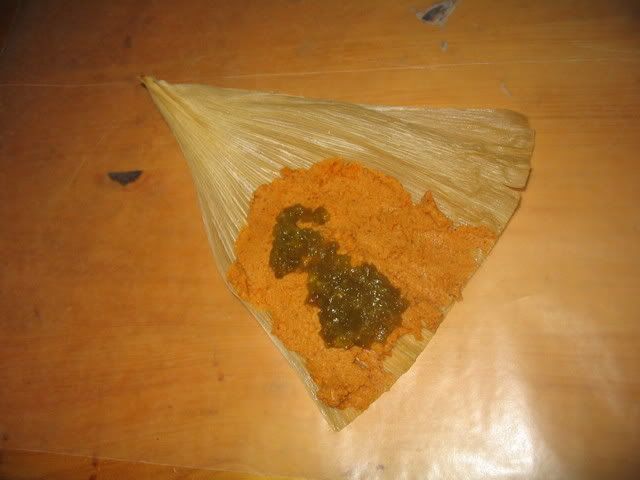
Step 7: Roll it up:
Roll up the Tamale, starting from the side where the filling goes all the way to the edge. Then fold the pointy end under. I like to tie a little bow on mine, but it is totally not necessary.
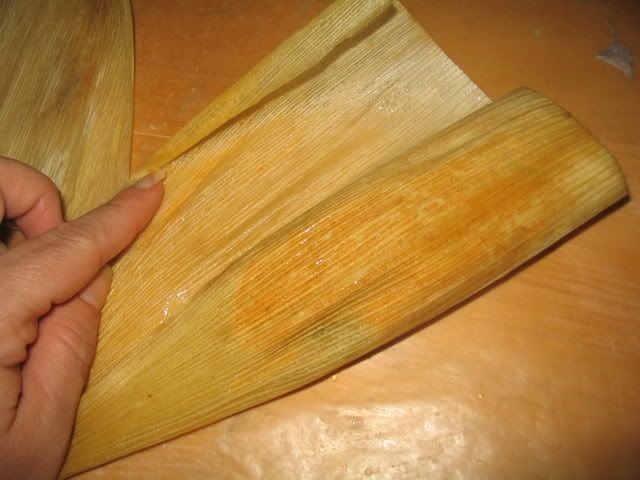
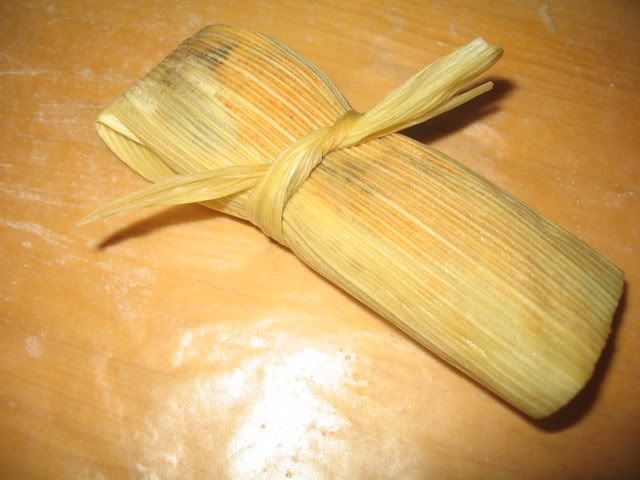
Step 8: Pack in the Tamales:
Pack the Tamales in tight. So they are standing upright in your steamer, and won't fall over. I didn't even know I had a steamer this big, but apparently a "pasta pot" with a removable inside will do the trick quite nicely. We removed the inside basket, and laid it on it's side and stacked our tamales in until it was full, and then placed it upright in the larger pot.
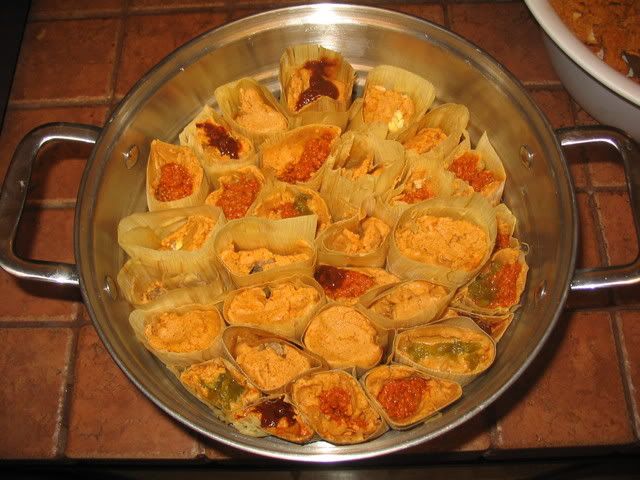
Step 9: Steam the Tamales:
Place enough water in the bottom of the pot so that it does not touch the tamales. Bring it to a boil, and then reduce the heat to medium low, and steam for 120-180 minutes. Remember to check on the water level every once in awhile so that the pot does not boil dry.
Step 10: Test a Tamale:
After 2 hours of steaming, remove one tamale, and place it on a plate to cool for 5 minutes. Unwrap it and test for doneness. It should be it's own "unit" and mot mushy or runny. If it is done AWESOME If not, continue to steam for another 15-30 minutes.
Step 11: Remove the Tamales from the pot:
Place on a tray to cool and enjoy, or place into ziploc bags to freeze. The other website says that in Ziplocs you can freeze tamales for up to a YEAR!!!! Well, mine won't even make it to the freezer! YUM!
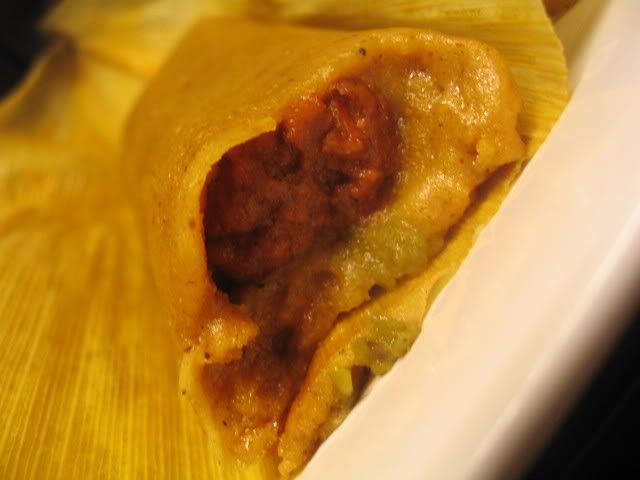
Mine are the cute petite ones with bows. Dan's are big and manly with no dainty ties:

Step 12: ENJOY!

5 comments:
Thanks for the great post, Joni! I've had a yen for tamales recently. It must be the SoCal weather...
Wow! What a project, but looks totally worth it.
I love tamales, but have never tried making my own. I think I will have to try, though! Maybe this winter when I'm in CA and I'll be able to find corn husks in the awesome Mexican markets...
Awesome you have inspired me. I was thinking of making tamales of my own lately.
I grew up making tamales with all the traditional stuff, lard in the masa and plenty of saucy spicy pork for the filling.
i made them, they where soo good, thanks for share the recipe. i cut the salt because my broth was a little salty. what a great recipe.
Post a Comment